Getting started
Check readiness, generate the package, then test the live flow.
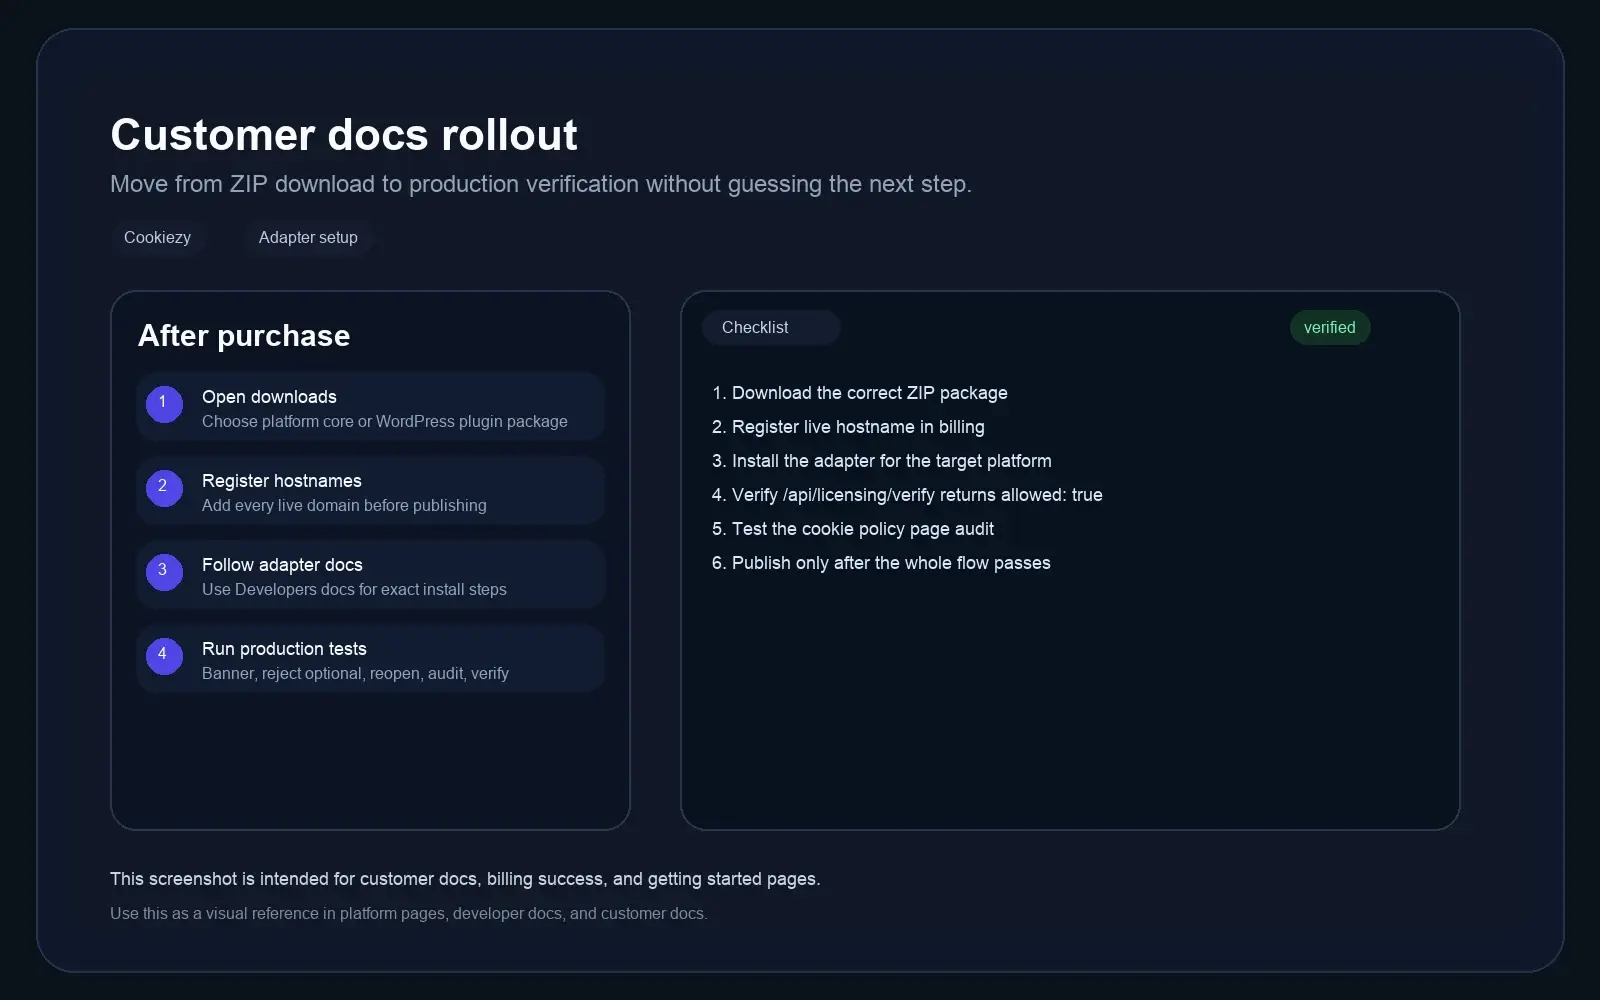
This is the shared rollout path for every adapter after purchase, including readiness checks, hostname registration, and restricted-mode recovery if billing is not active.
- • Choose the correct package from customer downloads and confirm it is ready to generate.
- • Register every live hostname in billing before publish.
- • Install the adapter with the matching Developer guide.
- • Review the issued package and confirm the embedded site key, verification URL, and billing portal URL match the account before launch.
- • For Hugo or other config-based adapters, copy issued values exactly and avoid adding extra escaped quotes around `siteKey`, `verifyUrl`, or `billingUrl`.
- • Check page source and confirm `window.CookiezyConfig` shows real values, not empty strings and not values like `'"https://..."'`.
- • Test first visit, reject optional, accept all, settings reopen, audit page, runtime verification, and restricted-mode recovery.
Code snippet
1. Open customer downloads and confirm the package is ready to generate.
2. If billing or the account site key is missing, resolve that in billing first.
3. Generate the correct issued ZIP.
4. Register the production hostname in billing.
5. Follow the adapter-specific Developer docs page.
6. Set locale and policy URL, then verify the embedded siteKey, verifyUrl, and billingUrl from the issued package.
7. If the adapter uses config files, copy the issued values exactly and avoid extra escaped quotes.
8. Confirm /api/licensing/verify returns allowed: true and only publish after the live hostname passes all checks.